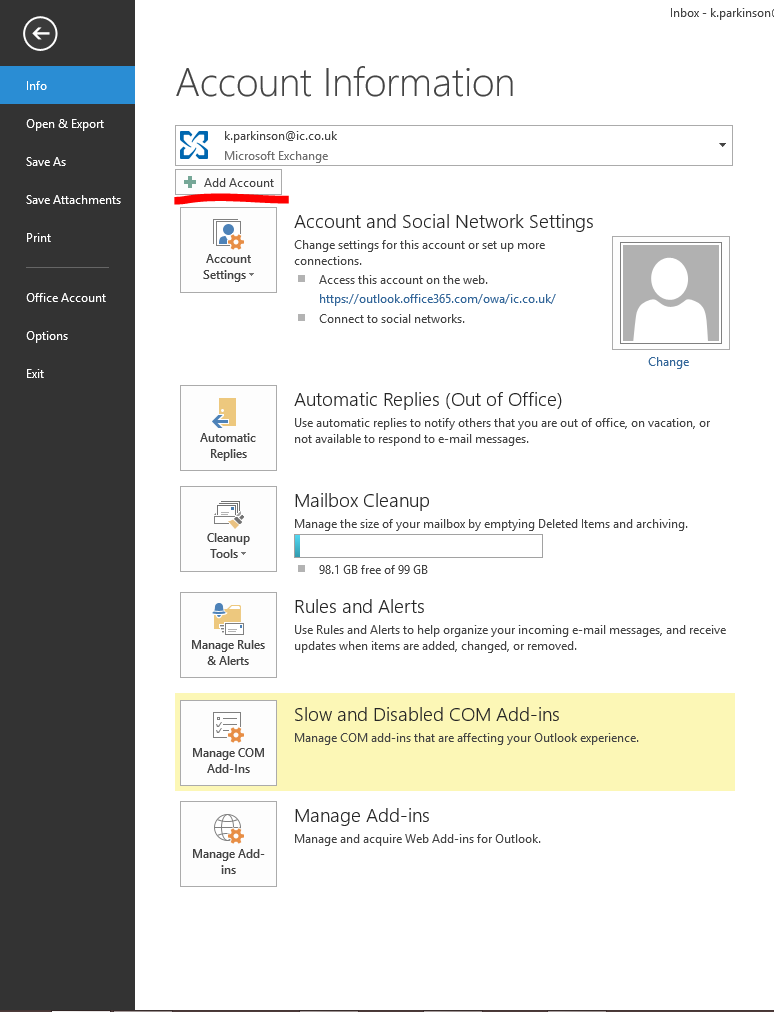
This article is to inform end users how to configure their email account via POP3. The pictures used will be on Outlook 2016 however this setup will be universal throughout most mail software.
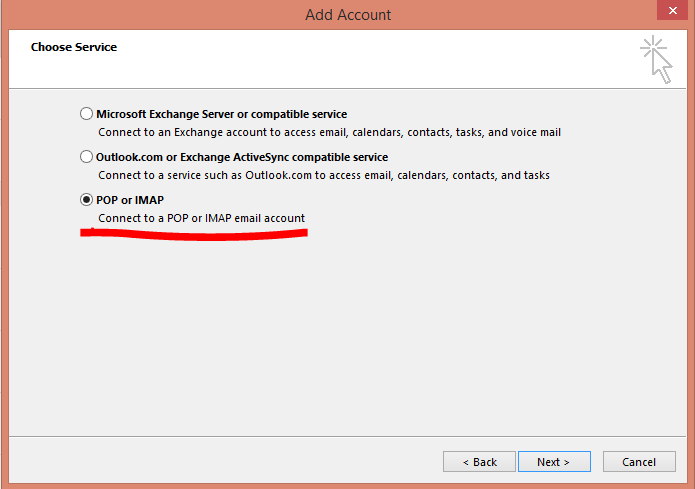
3. Now you will need to select "POP or IMAP". Then click next.
4. Now you will need to fill out the details required for your own email.
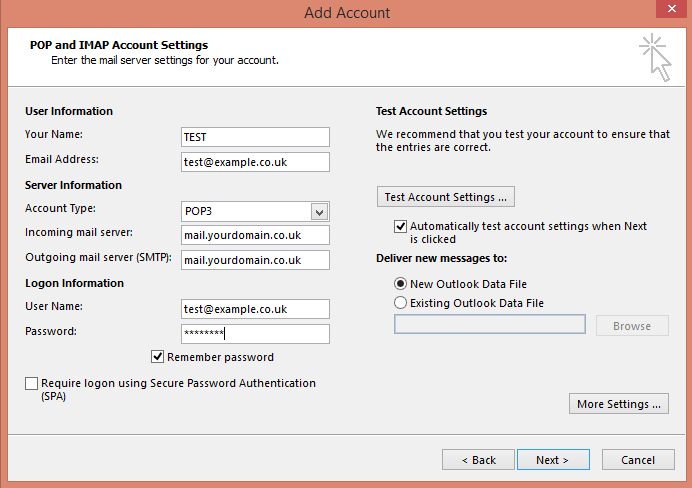
Under User information, enter your full name and then your email address.
Under Server information, you will need to leave the account type as POP3. The incoming & outgoing mail servers are the same. The prefix for this is to add "mail." in front of your domain name. For Example, if your email address is test@example.co.uk then your domain name is example.co.uk. So this means that the incoming & outgoing mail servers for test@example.co.uk is mail.example.co.uk.
Under Logon Information, please enter your email address and password.
Now click "More Settings" in the bottom right.
5. Now you will see a smaller pop up window with three tabs, general, outgoing server and advanced. Click outgoing server and select the square tick box at the top to enable authentication.
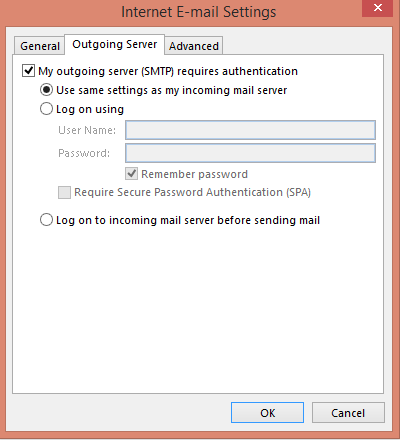
click OK and this will return back to the other pop up window.
6. Hit next and now this will complete for you.
Now you have successfully added an email account via POP3 to your mail software.
POP3 mail will only work on one device. It is old technology and also does not work very well on mobile devices.
I would recommend moving over to Office 365 as this give you everything POP3 mail will and a lot more. If you would like to know more about Office 365 click here.
Article ID: 177
Created: Wed, Nov 15, 2017
Last Updated: Fri, Nov 17, 2017
Author: Wayne Coulthard
Online URL: https://kb2.ic.uk/article.php?id=177